
I’ve learned that knowing how to test a caravan solar panel is absolutely essential for any RV owner who wants to keep their off-grid power system running smoothly. Whether you’ve just installed a shiny new setup like the ECO-WORTHY 390W Solar Panel Kit or you’re trying to figure out why your batteries aren’t charging properly, I’ll show you exactly how I test my panels to catch problems before they leave me stranded. 🚐✨
Why I Always Test My Caravan Solar Panels 🎯
Let me tell you, I learned this lesson the hard way! Solar panels can slowly lose their efficiency without you even noticing. Dust builds up gradually, tree branches create new shadows as they grow, and connections can loosen from all that driving on bumpy roads. The worst part? You might not realize anything’s wrong until you wake up to dead batteries in the middle of your dream camping spot! 😱
That’s why I make testing a regular habit. When I test my panels consistently, I can spot issues early and make sure I’m actually getting that promised 1.56kWh daily output from systems like the ECO-WORTHY kit. Trust me, a few minutes of testing can save you from a ruined trip.
The Tools I Use for Solar Panel Testing 🛠️
Before I show you how to test a caravan solar panel, let me share what’s in my testing toolkit. My most important tool is definitely my digital multimeter – this little device measures voltage, current, and resistance, telling me exactly what’s happening with my panels.

I also keep a solar irradiance meter handy for checking sunlight intensity, though this one’s optional if you’re just starting out. For safety, I always wear my insulated gloves because we’re dealing with electricity here, folks! 🧤
Method 1: My Basic Voltage Testing Technique ⚡
Here’s How I Do the Open Circuit Test:
Step 1: Safety First! ⚠️ I always start by turning off everything connected to my solar system. Then I carefully disconnect the solar panel from my charge controller. This might seem overly cautious, but I’d rather be safe than sorry when dealing with electrical systems.
Step 2: Setting Up My Multimeter 🔧 Next, I grab my trusty multimeter and turn it on. I set it to DC voltage mode (you’ll usually see this marked as “V⎓” on most meters). I make sure to select a range higher than my panel’s expected voltage – typically I use the 200V setting to be safe.
Step 3: Taking the Reading 📊 Now comes the actual testing! I touch the red (positive) probe to my panel’s positive terminal and the black (negative) probe to the negative terminal. On my 195W panels (like those in the ECO-WORTHY kit), I should see about 22-24 volts when the sun’s shining directly on them. If I’m getting significantly lower readings, I know something’s up.
Step 4: Interpreting My Results 🤔 When my voltage readings are lower than expected, I immediately check for the usual suspects: dirt on the panels, shadows from that new awning I installed, or loose connections that might have rattled free on the highway. This simple test has saved me countless headaches!
Method 2: Testing Under Real-World Conditions 🌞
While that open circuit test is great for a quick check, I’ve found that testing under load gives me the real story about how my panels are performing.
My Load Testing Process:
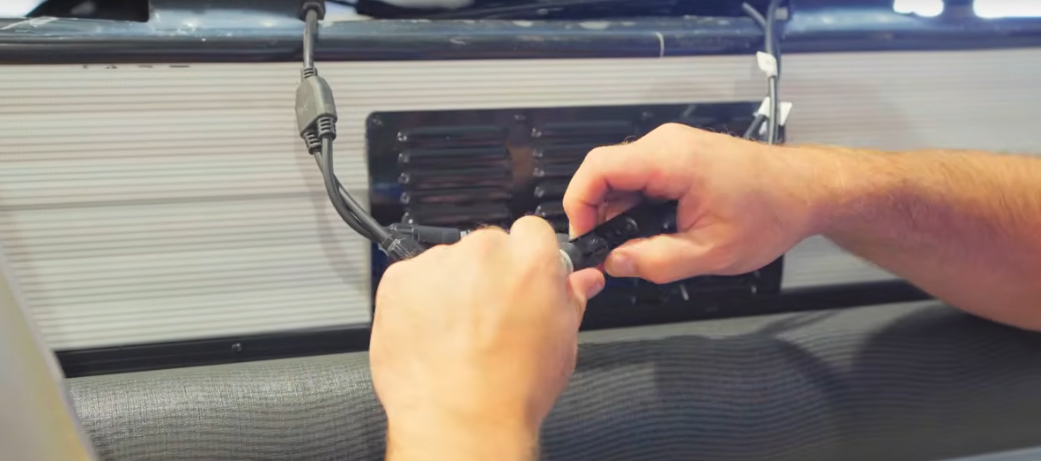
Step 1: Reconnecting Everything 🔌 First, I reconnect my solar panel to the charge controller. I make sure all connections are tight and secure – loose connections are surprisingly common and can really hurt your system’s performance.
Step 2: Measuring Working Voltage ⚡ With everything hooked up and my batteries charging, I measure the voltage again. This time, I should see between 13-15 volts, depending on my battery’s state of charge and what type of charge controller I’m using. My MPPT controller tends to show slightly different readings than my old PWM one did.
Step 3: Checking Current Flow 🔋 Here’s where it gets interesting! I switch my multimeter to measure amperage (usually you need to move the probe to a different socket for this). With my ECO-WORTHY 390W kit, I expect to see around 20-25 amps flowing when the sun’s at its peak. I’ve noticed the best readings come between 10 AM and 2 PM, so that’s when I do my most important testing.
Testing My Complete Solar System 🎯
I’ve learned not to stop at just testing the panels themselves. The charge controller and batteries are equally important parts of the puzzle. My 30A charge controller has a display that shows charging parameters, so I always verify it’s showing the right values and no error codes.
I pay special attention to my battery voltage throughout the day. Before sunrise, during peak charging, and after sunset – these readings tell me if my batteries are healthy and accepting charge properly. If they’re not holding voltage despite good solar input, it might be time for new batteries (learned that expensive lesson too!).
Troubleshooting the Issues I’ve Found 🔍
Over the years, I’ve encountered pretty much every solar problem you can imagine. When my testing reveals issues, I always start with the simple fixes first. A good cleaning with my specialized solar panel cleaner often works wonders – you’d be amazed how much dirt can accumulate even after just a few weeks on the road! 🧹
I’ve discovered that partial shading is a real killer for solar output. Even a small shadow from my TV antenna can cut production by 50% or more. That’s why I now test at different times of day to map out exactly how shadows move across my panels. With bifacial panels like those in the ECO-WORTHY kit, I also make sure there’s enough clearance underneath to capture that reflected light from the ground.
My Testing Schedule 📅
I’ve developed a testing routine that keeps my system running smoothly without being a burden. Every month, I do a quick voltage check – it takes just five minutes but gives me peace of mind. Before any big trip, I run through the complete testing process to make sure everything’s working perfectly. I also test after major storms or if I notice my batteries aren’t charging as quickly as usual.
Seasonal testing has become really important too. As the sun’s angle changes throughout the year, my panel performance shifts, and I need to adjust my expectations accordingly. Winter sun sits lower in the sky, which means I get different readings than in summer – totally normal, but good to track! ❄️☀️
Understanding What My Results Really Mean 📈
One thing I’ve learned is that my panels rarely produce their rated output in real-world conditions. I typically see 70-85% of the rated power, and that’s completely normal! Weather, temperature, and even a thin layer of dust all affect performance. That’s why I keep a simple log of my test results – it helps me spot trends and know when something’s actually wrong versus just a cloudy day.
Maintenance Based on My Test Results 🛠️
My testing directly guides my maintenance schedule. When I consistently see low voltage readings, I know it’s time for a thorough cleaning. If current readings are bouncing around, I check every connection with a wrench. Gradually declining performance over several months usually means normal aging, but sudden drops always warrant immediate investigation.
Final Thoughts on How to Test a Caravan Solar Panel 💡
Learning how to test a caravan solar panel has given me the confidence to rely on my solar system for all my off-grid adventures. With just a basic multimeter and a regular testing routine, I can spot problems early and keep my system running at peak efficiency. Whether you’re running a simple 100W panel or a comprehensive kit like the ECO-WORTHY 390W system, these testing techniques will help you get the most from your investment.
Remember, the goal isn’t perfection – it’s knowing your system well enough to spot when something’s not right. Happy testing, and may your batteries always be full! 🔋✨
Disclaimer: This post contains affiliate links. I may earn a commission if you purchase through these links at no additional cost to you.